Configuring VS Code and writing simple code
Setting up VS Code for the ESP32-C3 might look intimidating, but if we take it step-by-step, it's very manageable. We will use an extension called PlatformIO.
Phase 1: Install the Necessary Software
Download and Install VS Code:
DownloadVisual Studio Code picking the right version for your OS.
Install it like any other program, keeping all default settings checked.
Phase 2: Install the PlatformIO Extension
Open VS Code.
On the left-hand sidebar, click the Extensions icon (it looks like four squares with one floating away).

In the search bar at the top, type "PlatformIO".
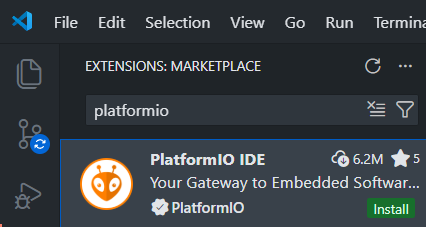
Find PlatformIO IDE (usually the first result with an ant icon) and click Install.
Note: This will take a few minutes as it downloads the core components in the background. Look for a tiny progress bar at the bottom right.
Phase 3: Create Your Project
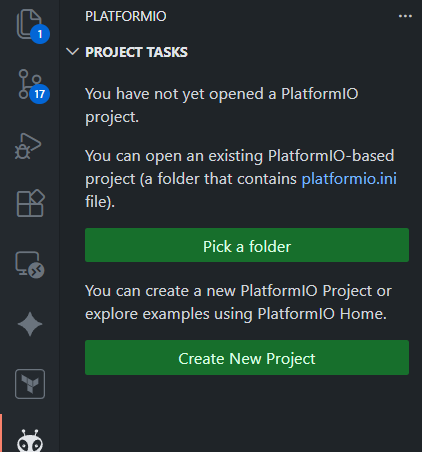
Once installed, a small Ant icon will appear on the left sidebar. Click it.
Click "Open" under the PlatformIO menu, then click "+ New Project".

Configure your project:
Name: Give it a name (e.g., ESP32_Blink_Project).
Board: Type "ESP32-C3". You will see several options. A safe bet for the SuperMini is "Espressif ESP32-C3-DevKitM-1".
Framework: Ensure "Arduino" is selected.
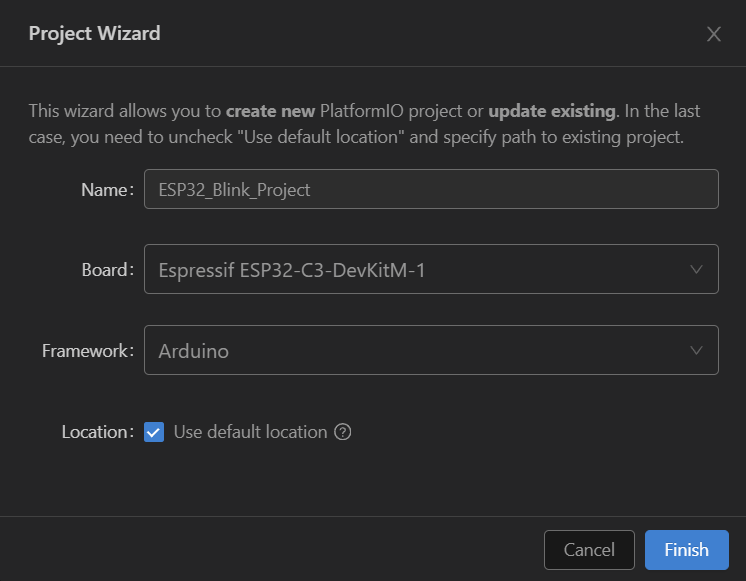
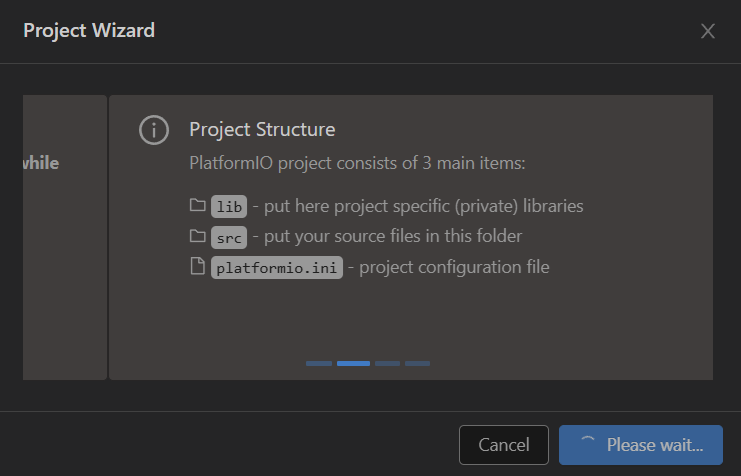
Click Finish. It will take a few minute's to set up the file structure.
Phase 4: Fix the Serial Monitor (Crucial for ESP32-C3)
Before writing code, we need to tell the ESP32-C3 to send its logs to the USB port.
In the left sidebar Explorer, find and click the file named platformio.ini.
Add these lines to the very bottom:
    monitor_speed = 115200
    build_flags =
        -D ARDUINO_USB_MODE=1
        -D ARDUINO_USB_CDC_ON_BOOT=1
Phase 4: Uploading the Code
In the left file explorer, open the src folder and click on main.cpp.
You will see the following code:
    // put function declarations here:
    int myFunction(int, int);

    void setup() {
    // put your setup code here, to run once:
    int result = myFunction(2, 3);
    }

    void loop() {
    // put your main code here, to run repeatedly:
    }

    // put function definitions here:
    int myFunction(int x, int y) {
    return x + y;

    }
Delete everything inside that file and paste the following code
#include <Arduino.h> //this tells it to use all the standard arduino libraries

//This sets the LED we're using to the one on the device
#define LED 8

//this is the bits that run once when the device boots
void setup() {
// This sets the serial port speed (important for later)
Serial.begin(115200);

//This marks the LED PIN as an output device, this means we can send commands to it
pinMode(LED, OUTPUT);
}

//this is the bits that run repeatedly
void loop() {

//Turn the LED on
digitalWrite(LED, HIGH);

//print a message to the console
Serial.println("LED is on");
//wait one second, this is in milliseconds
delay(1000);
//Turn the LED off
digitalWrite(LED, LOW);
//print a message to the console
Serial.println("LED is off");
//wait one second, this is in milliseconds
delay(1000);
}
Connect your ESP32-C3 SuperMini to your computer via USB.
Look at the very bottom blue status bar of VS Code. You will see several icons:
Checkmark (✓): This compiles (checks) your code for errors.
Right Arrow (→): This Uploads the code to your ESP32.
Plug Icon: This opens the Serial Monitor so you can see the "LED On/Off" messages.
Click the Checkmark (✓), you will see your code compile, this will take a while the first time but future ones in the project are faster. Once that compiles click the Right Arrow (→) this should then upload it to the device, if it fails you may need to choose the correct port.
Checking your code
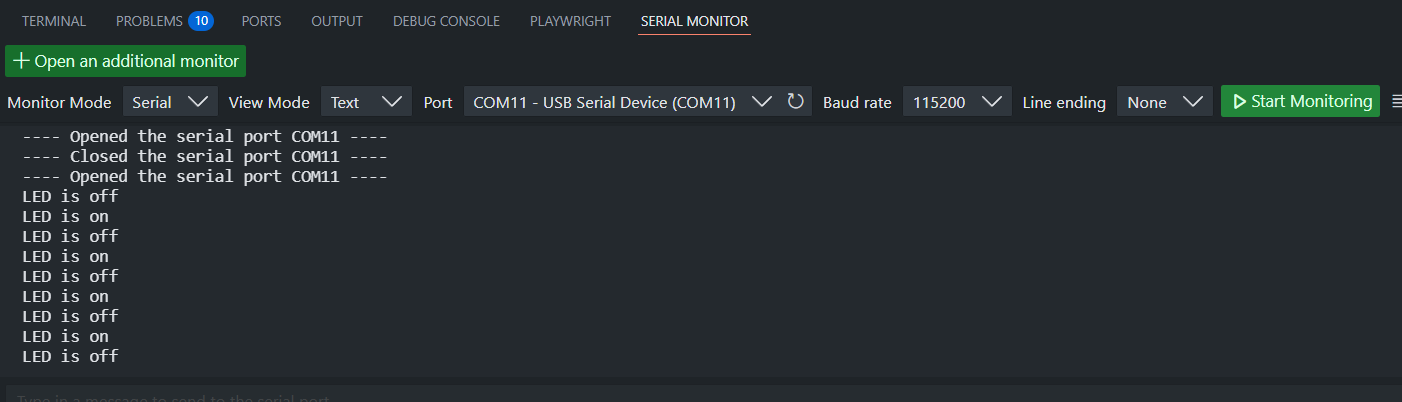
You should now see the blue LED blinking on the ESP board, in VSCode you can now click the serial monitor tab to see messages logged by the device.
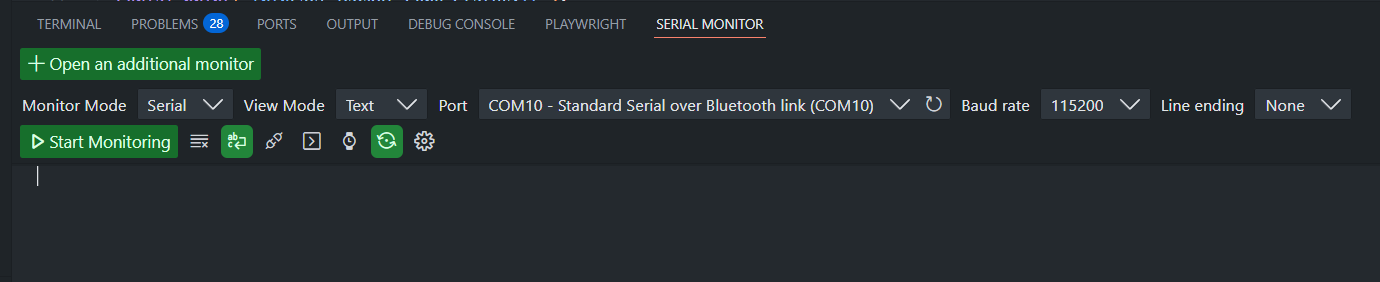
Click Start Monitoring to see the messages logged to the console of the device.
Troubleshooting for Beginners
Port Not Found: If the arrow (Upload) fails, you might need the CH340 driver. Many cheap ESP32 boards use this chip to talk to your USB port.
No logs in the console? Make sure you re-uploaded the code after adding the build_flags to your platformio.ini file.
Upload Times Out: If the board won't accept the code, try holding the BOOT button on the ESP32 while clicking the Upload arrow.