Your first Electronics circuit overview
What you'll need
- Breadboard (Any size)
- LED (Any color)
- Resistor (220 Ω or 330 Ω) - Ω is the symbol for ohm the measurement unit for resistance)
- Jumper Wires
- Power Supply (Power module or ESP32)
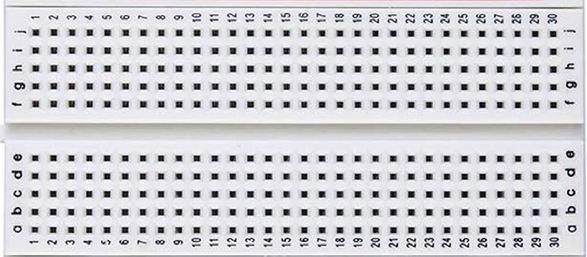
1. Understanding the Breadboard
A breadboard allows you to prototype circuits without soldering. It is divided into three main sections:
The Power Rails
The + (Positive) and - (Negative/Ground) rows run vertically along the sides.
- How they work: All holes in a single rail are connected together. Powering one hole powers the entire strip.

The Terminal Strips (Main Board)
The main area is labeled with Letters (A-J) and Numbers (1-30+).
- How they work: Unlike the power rails, these are connected horizontally in rows. Holes A, B, C, D, and E of Row 1 are all connected to each other, but Row 1 is not connected to Row 2.
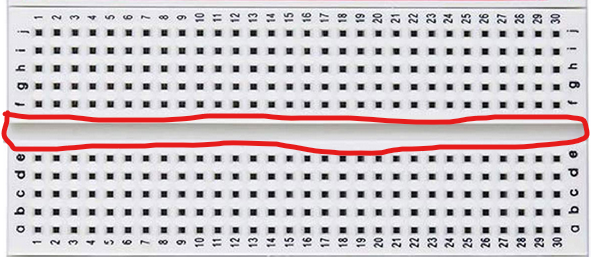
The Center Channel (The Divider)
The gap in the middle separates the two sides of the terminal strips.
- Purpose: It allows you to plug in Integrated Circuits (ICs) or microcontrollers (like your ESP32) without shorting the pins on opposite sides.
2. The Components
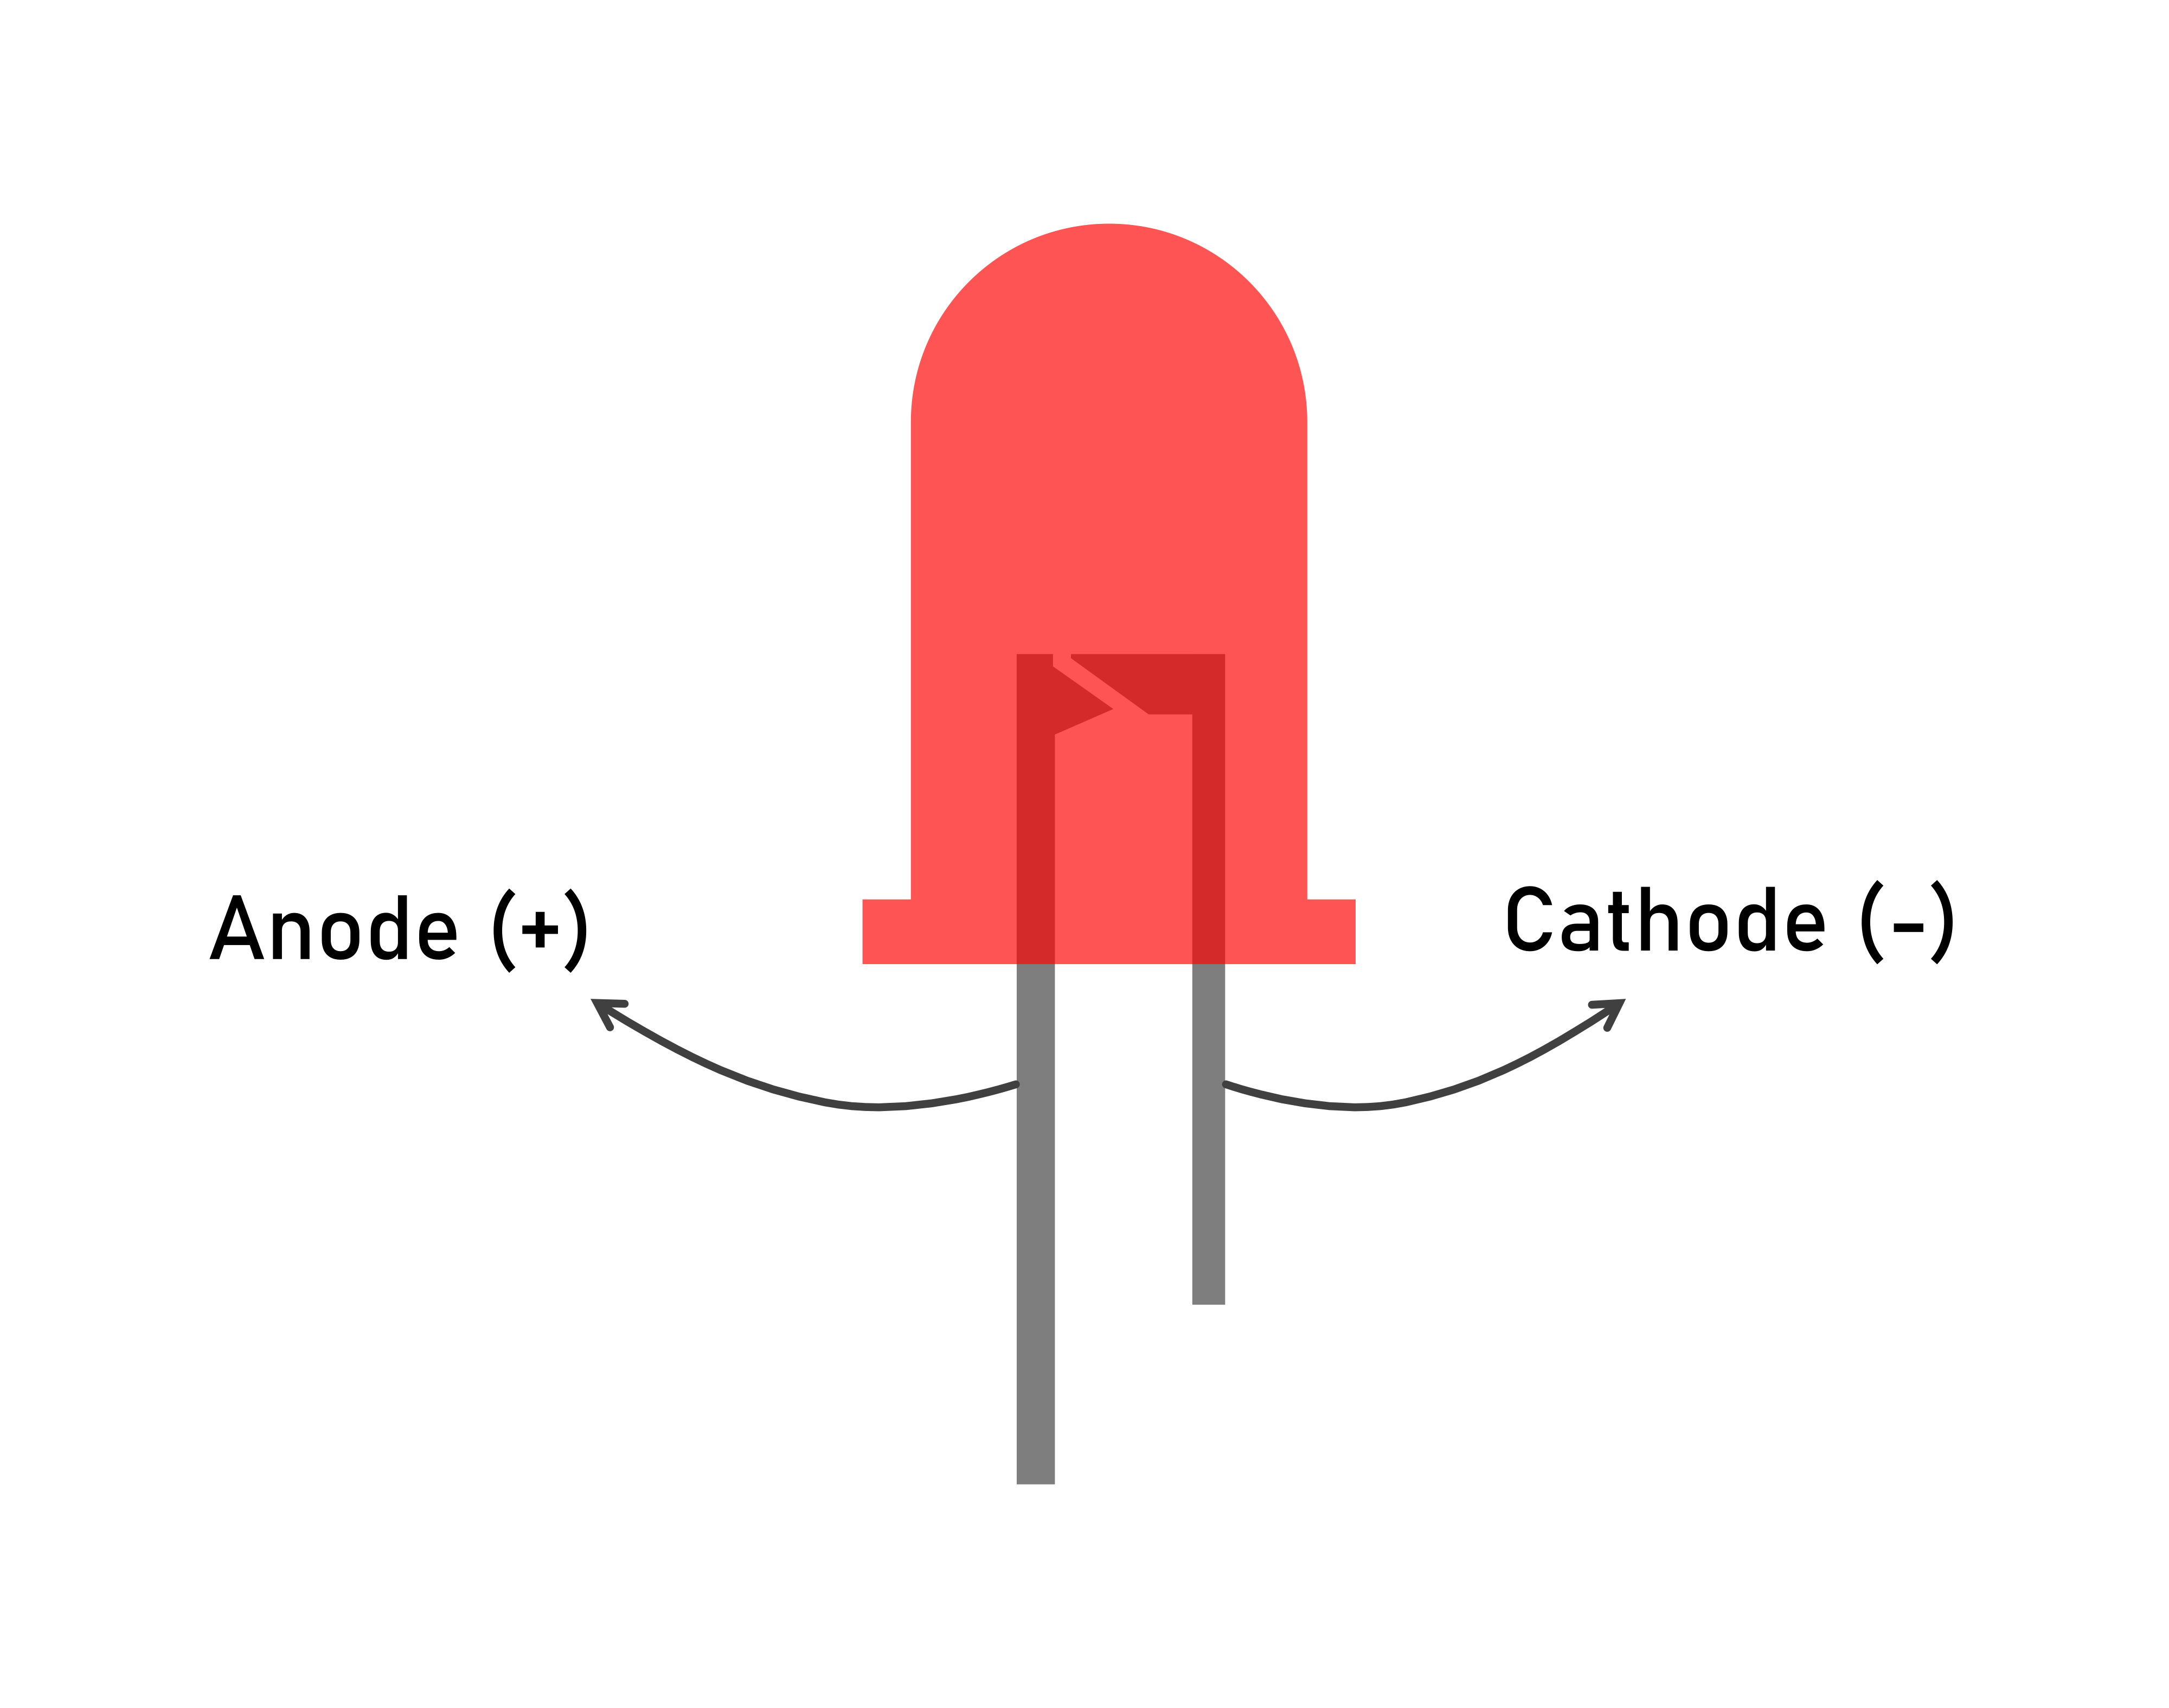
The LED (Light Emitting Diode)
LEDs only allow electricity to flow in one direction.
- Anode (Long Leg): Positive (+). Connects to power.
- Cathode (Short Leg): Negative (-). Connects to ground.
- Flat Edge: The plastic casing usually has a flat side on the Cathode (short leg) side.
The Resistors
Resistors limit the flow of electricity to protect your LED from burning out. For this project, use either a 220 Ω or 330 Ω resistor.
| Value | 4-Band Code | 5-Band Code | Image |
|---|---|---|---|
| 220 Ω | Red, Red, Brown, Gold | Red, Red, Black, Black, Gold/Brown | 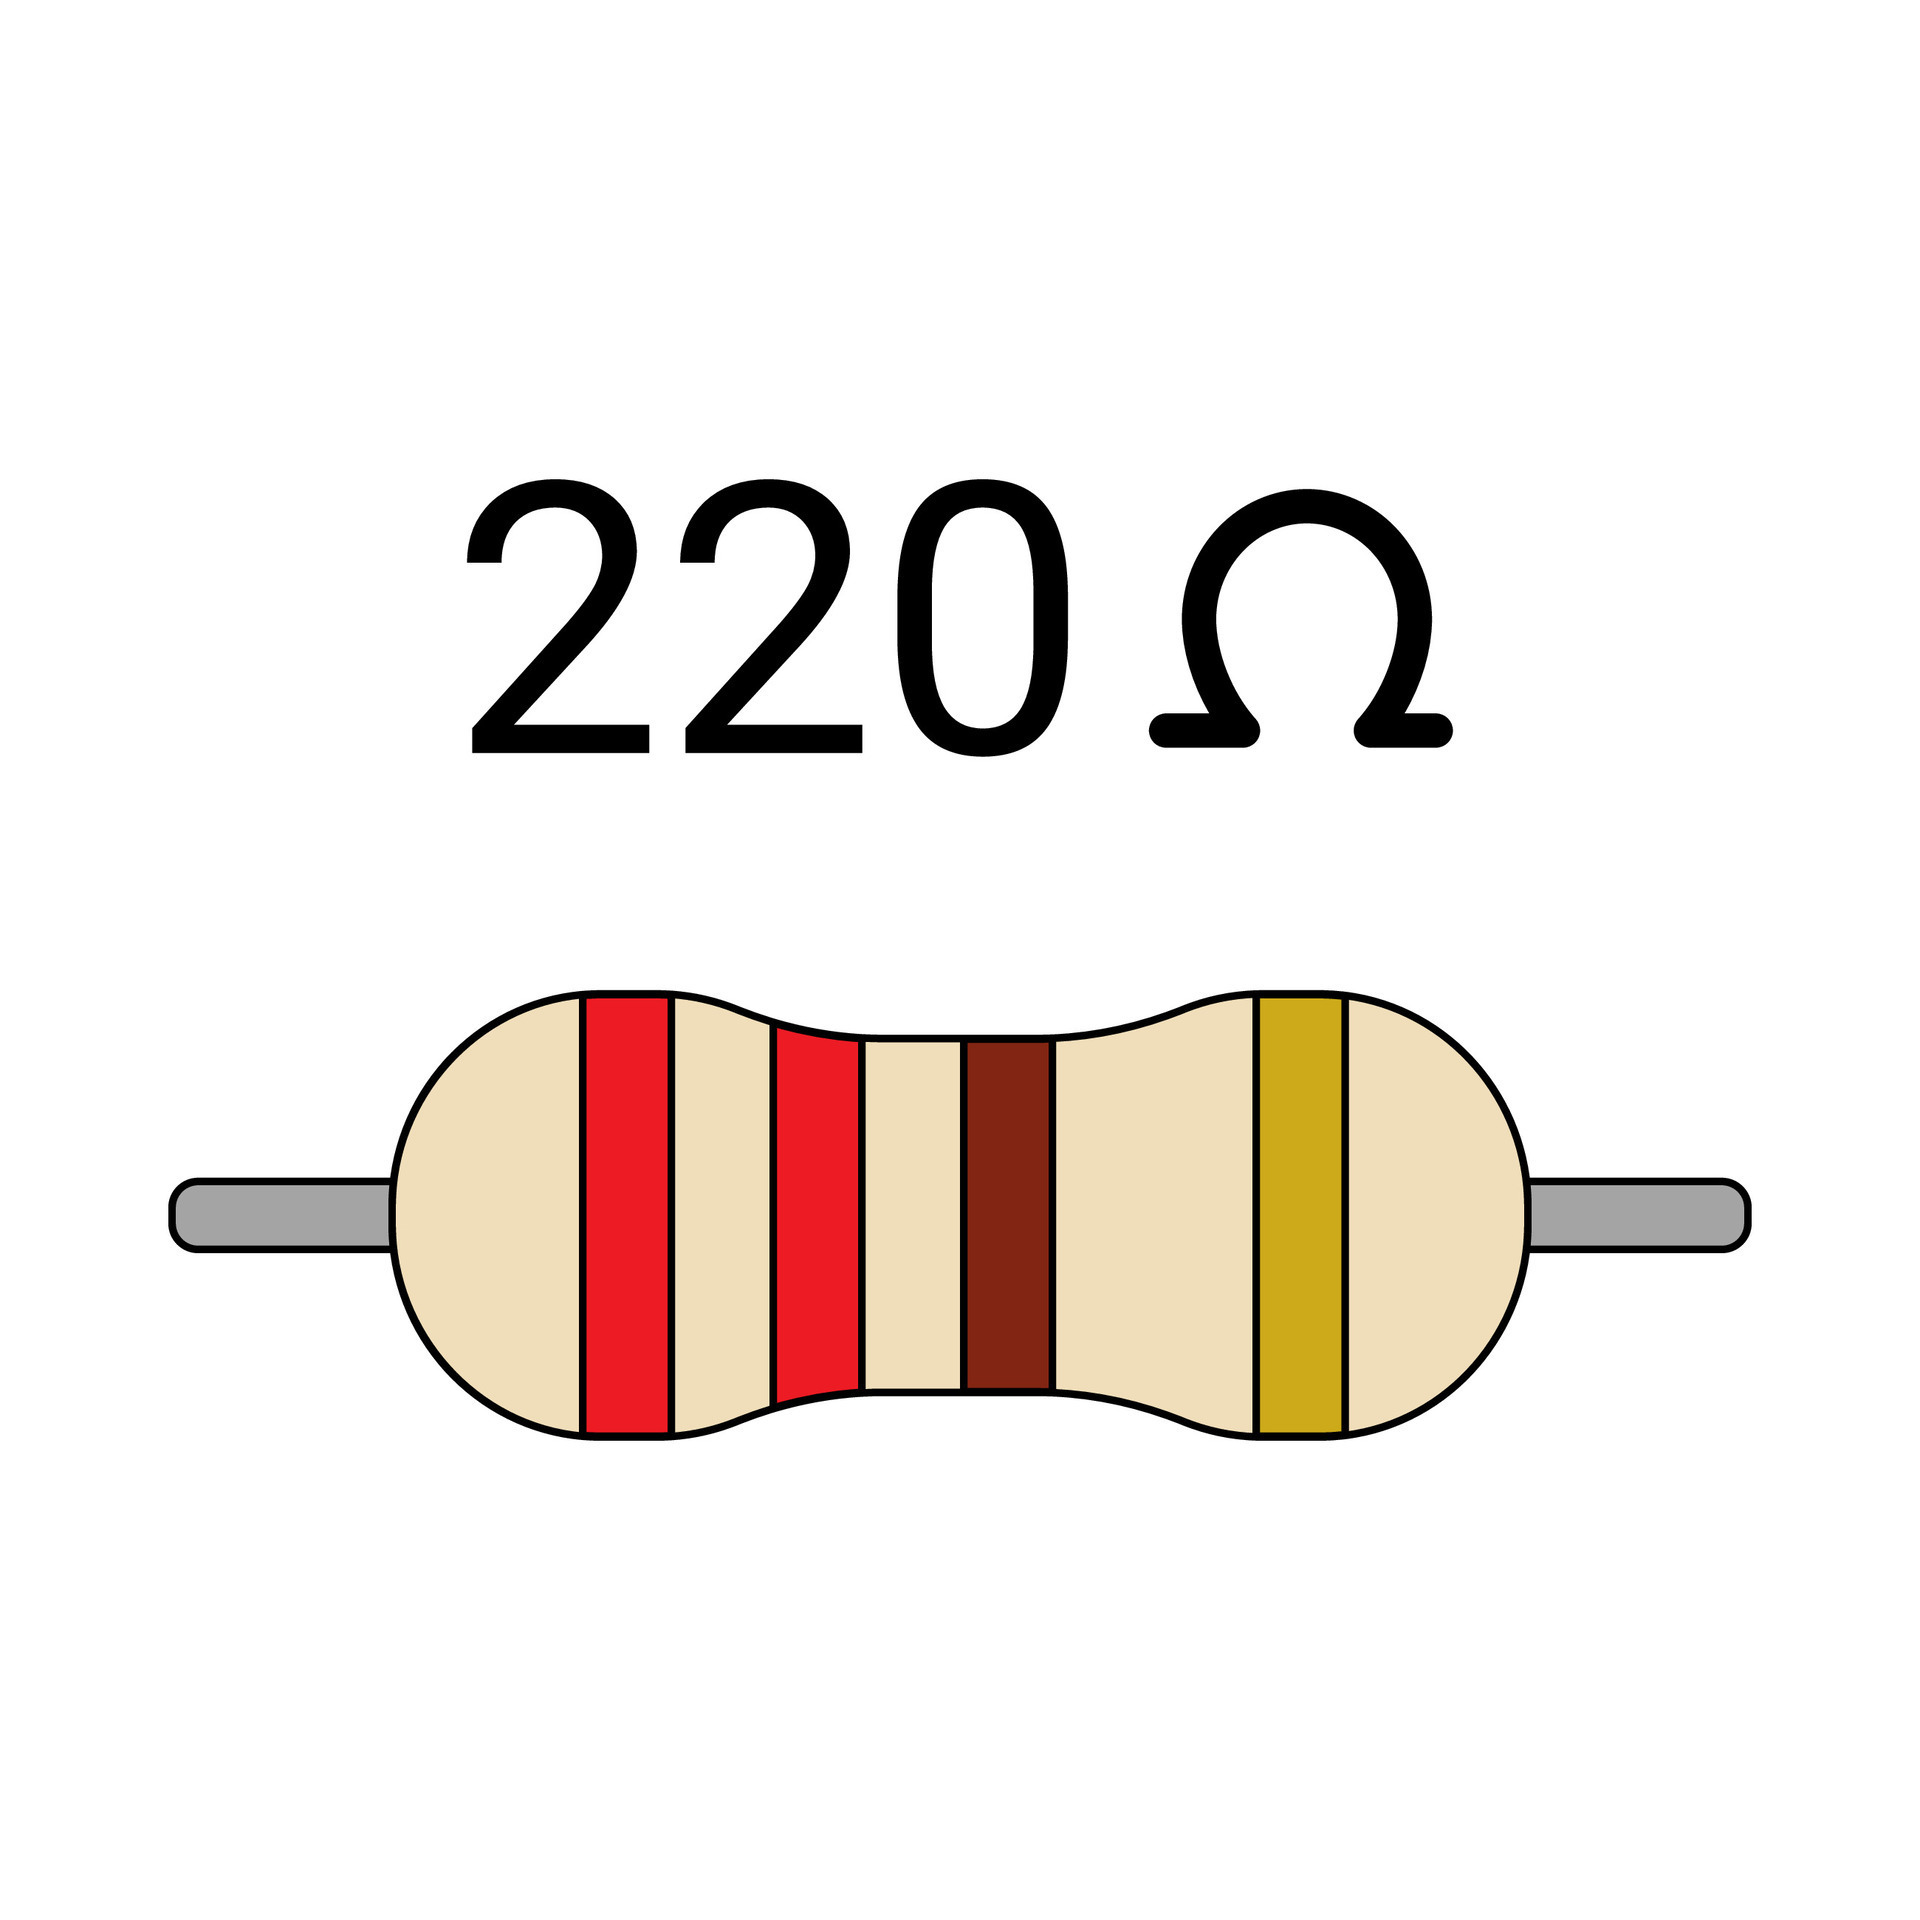 |
| 330 Ω | Orange, Orange, Brown, Gold | Orange, Orange, Black, Black, Gold/Brown | 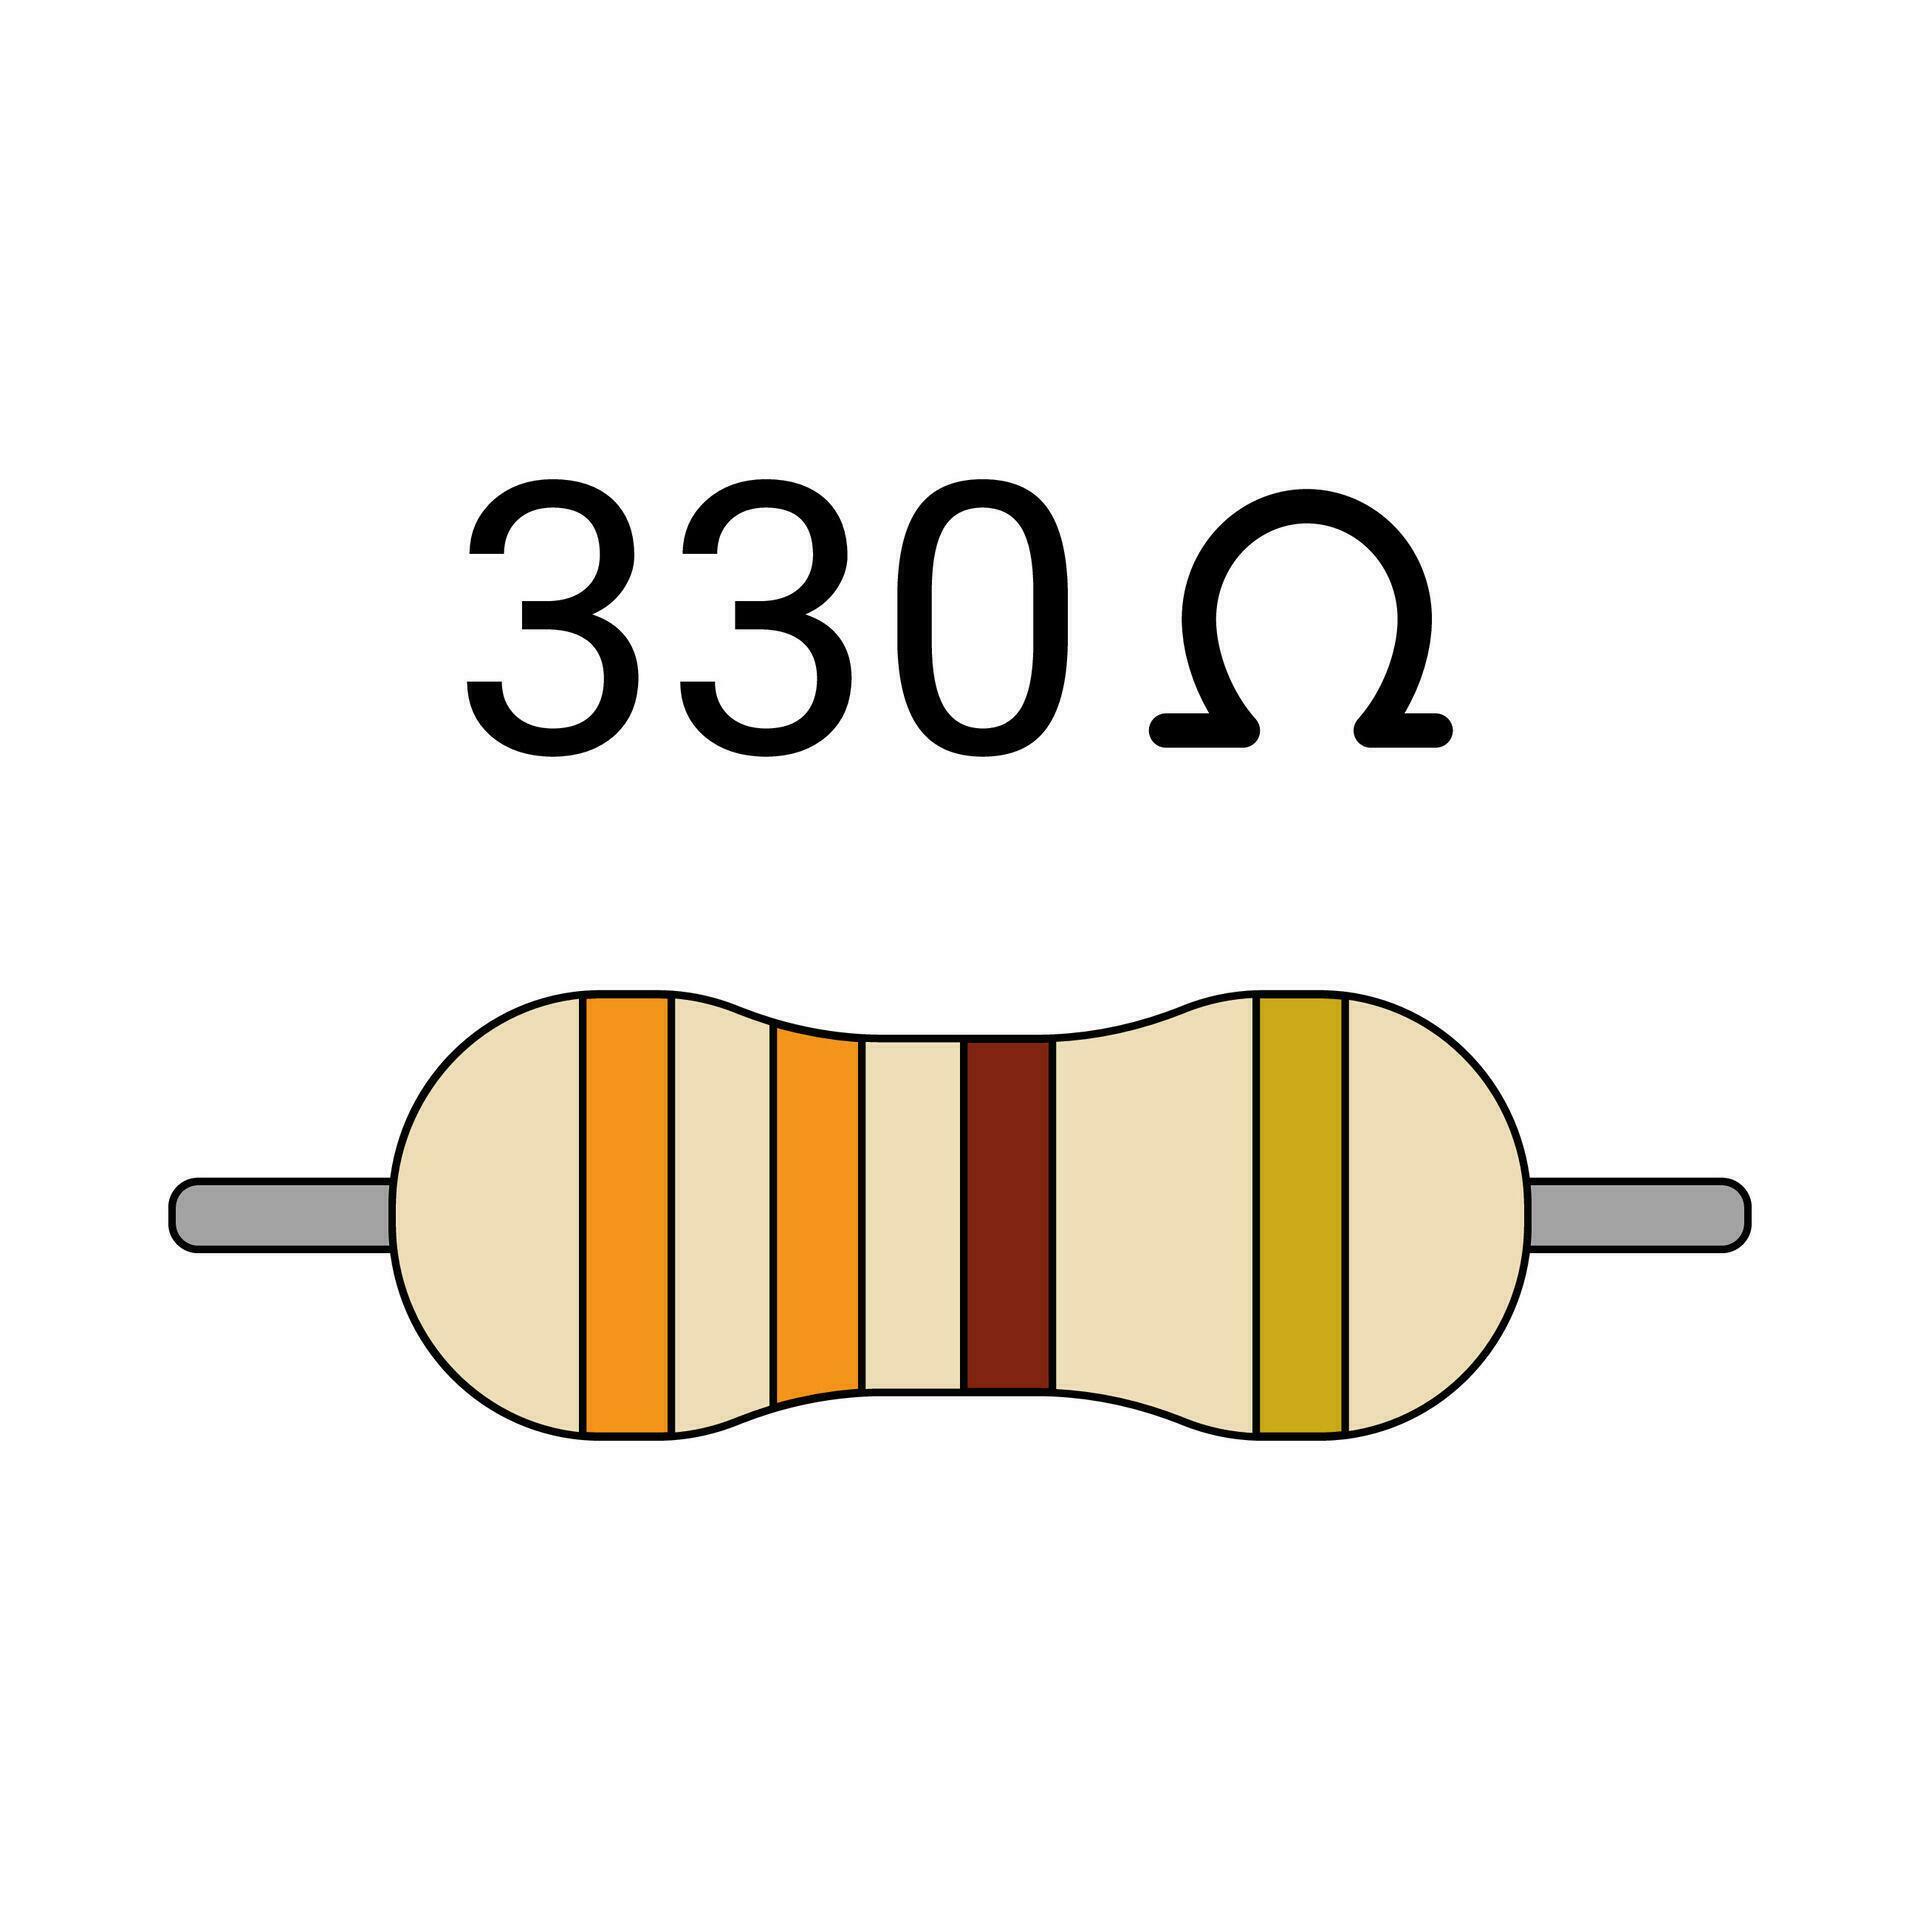 |
Tip: Resistors don't have a "direction." You can plug them in either way!
3. Why use a resistor?
Plugging an LED directly into a 5V or 3.3V power source will likely burn it out instantly. The resistor acts like a "bottleneck" in a pipe, slowing down the flow of electricity to a level the LED can safely handle.
- **Higher resistance (330 Ω) ** = Less light (dimmer).
- **Lower resistance (220 Ω) ** = More light (brighter).